Here, in this article you can get to know about the installation process of Mininet on Ubuntu. If you go through this article, you can install Mininet on Ubuntu of your own. Let’s start this!!!
Install Mininet on Ubuntu
To install Mininet on Ubuntu, open the Ubuntu terminal window and implement the following steps,
Step 1:
First, update the all packages and execute the command, if the password required to update packages please enter the password of the account you are currently logged into.
Command:
sudo apt-get update

Step 2:
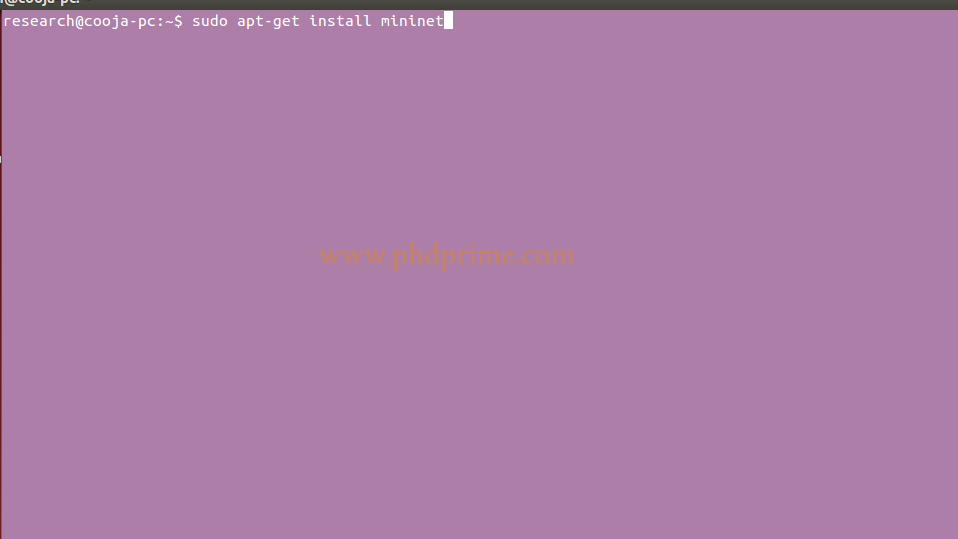
Then install the Mininet package by executing the following command,
sudo apt-get install Mininet
Step 3:
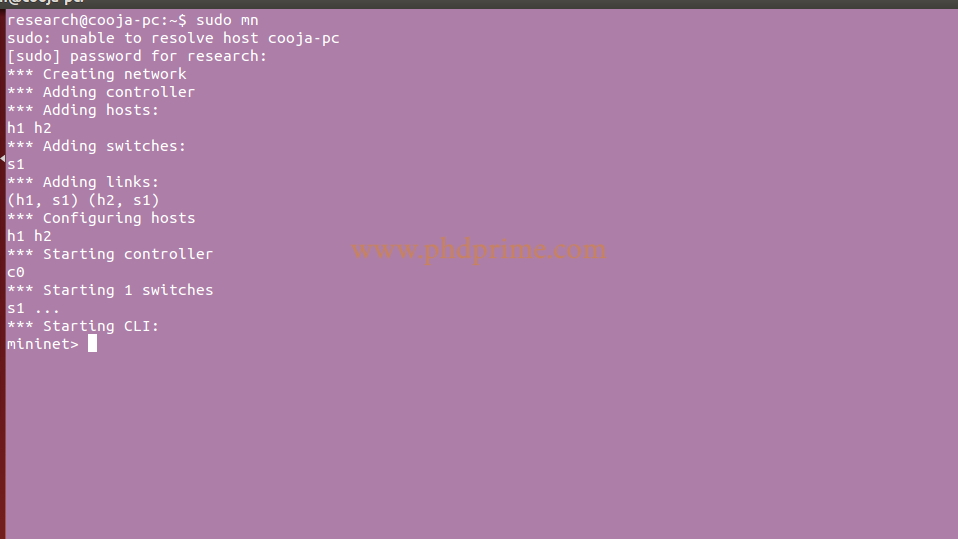
Once the Mininet is installed, and then execute the command to start mininet’s Command Line Interface (CLI). This command creates a simple topology consisting of one switch (s1) and two hosts (h1, h2).
sudo mn
Step 4:
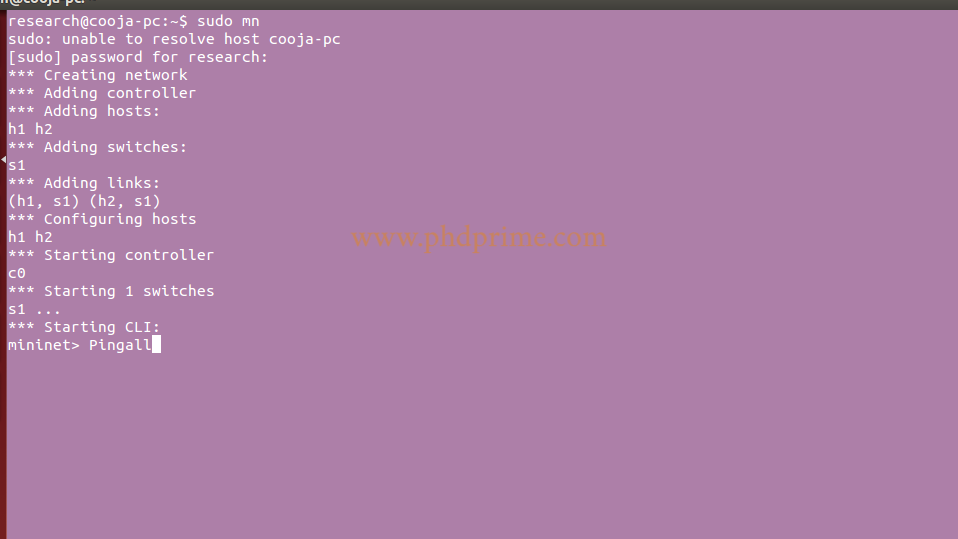
After creating a topology using command line, then execute the following command in mininet’s CLI for get the traffic details,
Pingall
Step 5:
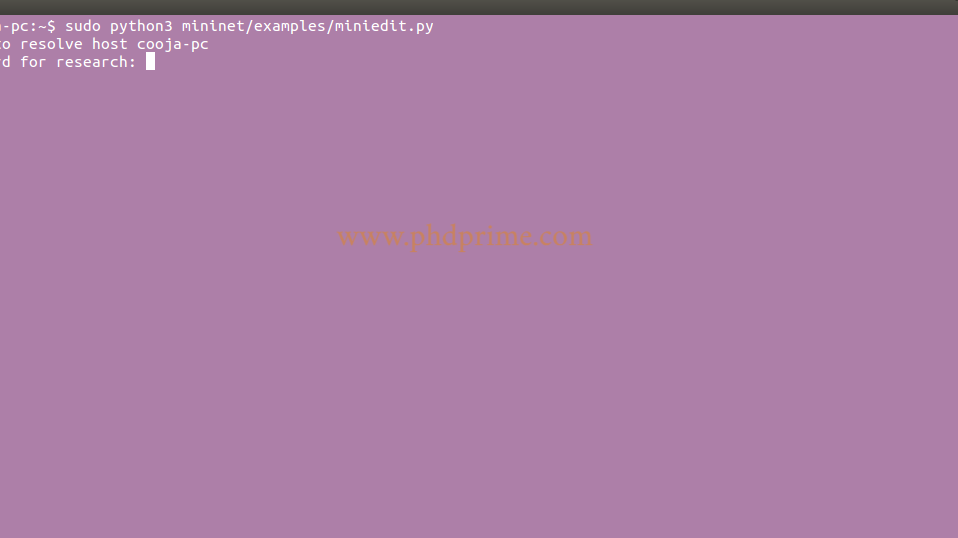
Once the traffic details is get, now start miniedit by entering the following command.
sudo python3 mininet/examples/miniedit.py
If you have any queries about installing Mininet on ubuntu, please reach us.


