Are you guys gone exhausted of searching the sufficient article about Mininet in windows? No worries!!! You guys are at the right stand. Come now let’s start this article with the processes that are required to implement Mininet in windows.
Download and Install VMware Tools and Ubuntu
As the first process, we have to and install the VMware tools and Ubuntu using the below mentioned URL.
- VMware tool
- Ubuntu 14.04
https://releases.ubuntu.com/trusty/
When the Ubuntu ISO file is downloaded, we have install Ubuntu in the VMware tool through the following process.
Go to created virtual machine > VM > Setting > Selection of ISO file to install
Download and Install Mininet for Windows
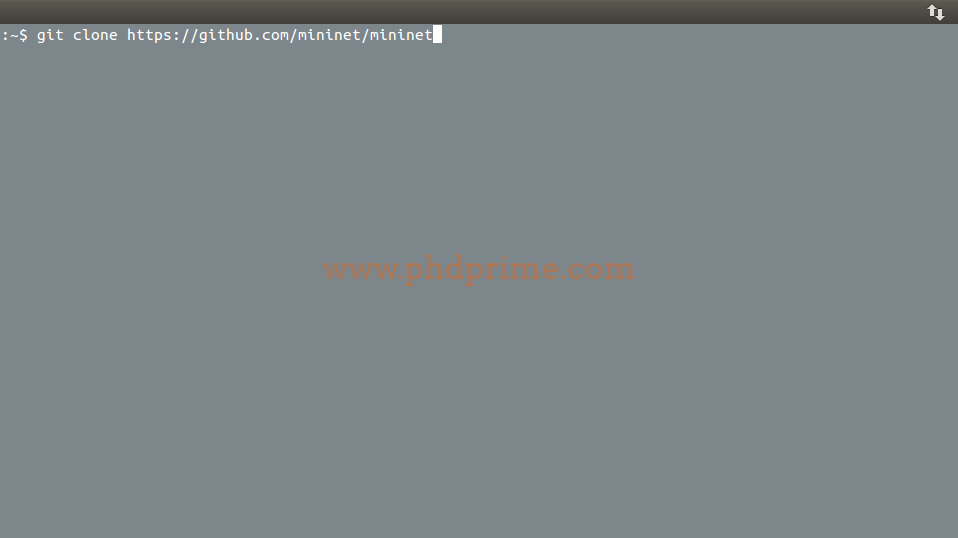
Then, we have to open the Ubuntu terminal and implement the below mentioned commands to download the Mininet packages.
git clone https://github.com/mininet/mininet
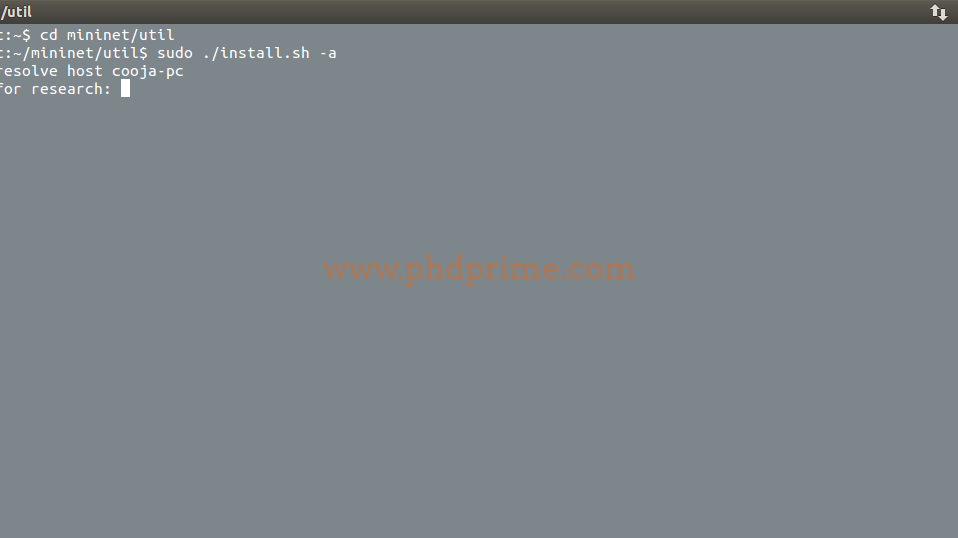
Consequently, we have to execute the below mentioned commands to install the Mininet for Windows.
cd mininet/util
sudo ./install.sh -a
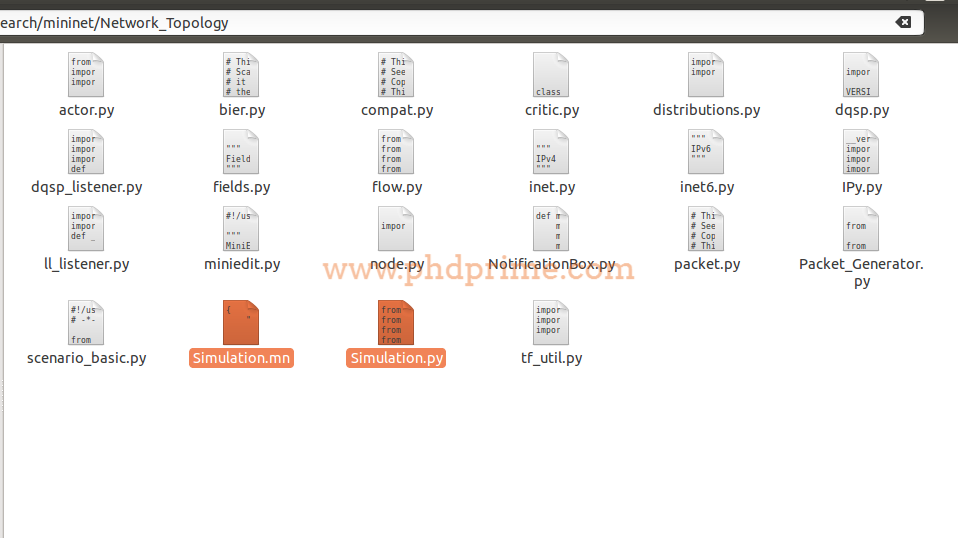
Create Mininet Simulation in Windows
Following that, we have to create and store the network configuration file with the file extension .mn and simulation source configuration file with the extension of .py in the installed location of Mininet.
The research scholars can reach us to acquire some assistance based on the implementation of Mininet.


